Admin - Reporting - Tracking Report Setup

Written by Drew Holliday
Updated at August 11th, 2023
PLAYERLYNC REPORTING - TRACKING REPORT SETUP
The PlayerLync Tracking Report was designed as a way to track scores and completions for assigned Member content.
Note: Please contact PlayerLync Customer Success for configuration guidance if you need assistance with the below steps
TRACKING REPORT SETUP
When you first open the Tracking Report you are provided with a default layout of data. While this is a good place to start, you will likely want to customize a Tracking Report for your needs. Here are the steps to setting up the columns and options as a basic usable Tracking Report.
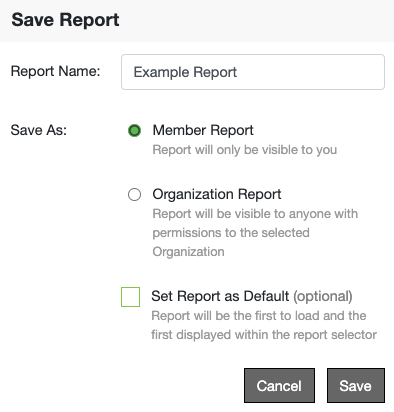
1. First, begin by making a copy of the current report. Using the Options menu in the top right of the window select Save As, give your report a name and select whether this is a private report for you or for your entire organization.
2. Decide whether this should be the default report that loads when the Tracking Report is launched
3. Click Save
4. Select a date range for the report using the drop-down
5. Add/remove columns using the Column Selector
a. Courses - These are your courses in PlayerLync
b. Member - Member specific data
c. Organization - Organization specific data
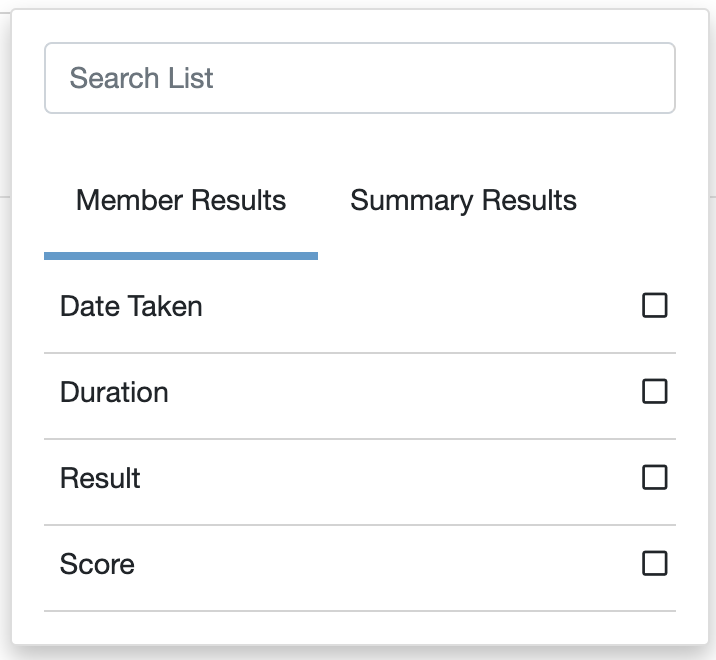
6. Add more detail using the Course Results Selector (scroll down on that pop-up to view options)
a. Group - When rows are collapsed the columns selected here displays the grouped by row only.
b. Member - When rows are expanded the columns selected here displays each Member row. (left)
7. Re-arrange your columns by dragging and dropping them in the order you want to be displayed (Note: Any columns you group in the next step will be moved to the far left of the report view)
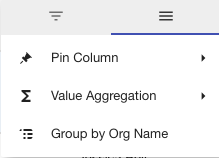 8. Filter your data using the column menu by mousing-over a column title and using the menu to narrow down your data
9. Finally, group the rows (right) by one of the columns you added in step five. Using the same column title menu in the previous step, select the Group by option
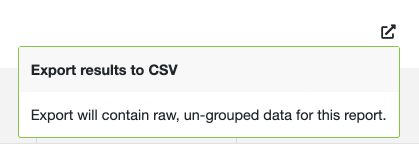
10. If you would like to export the data at this time, use the Export button in the top right of the window (seen below)
On this page